🌡️ Room Temperature Monitor
Arduino DHT11 temperature monitor tutorial: connect a DHT11 sensor and display live temperature/humidity readings using ready-to-use Arduino temperature sensor code.
Overview
The DHT11 is a remarkably accurate sensor that measures both temperature and humidity using a single digital pin. At under $2, it's one of the best value sensors in electronics.
Technical Insight: The DHT11 sensor utilizes a capacitive humidity sensor and a thermistor to measure the surrounding air, providing calibrated digital output signals on the data pin. It features a temperature range of 0 to 50°C (accuracy ±2°C) and a humidity range of 20 to 90% (accuracy ±5%), making it the most cost-effective choice for 95% of hobbyist environmental monitoring stations.
In simple terms: Instead of reading raw, complex analog voltage fluctuations from separate sensors, the DHT11 handles all the mathematics internally and transmits the final calibrated values directly to the Arduino using a single-wire digital protocol.
What you'll learn: Installing external libraries in the Arduino IDE, fetching calibrated sensor data, printing to the Serial Monitor, and basic digital communication principles.
Estimated time: 20-30 minutes. Difficulty: ⭐ Beginner-friendly.
Components Needed
| Component | Specification | Qty | Notes |
|---|---|---|---|
| Arduino Uno R3 | ATmega328P, 5V | 1 | Any Uno-compatible board works |
| DHT11 Sensor | 3.3–5V, +/-2°C accuracy | 1 | DHT22 also works (more accurate) |
| Resistor | 10kOhm pull-up | 1 | Between data pin and VCC |
| Breadboard | 400 tie-points min | 1 | Half-size is fine |
| Jumper Wires | Male-to-Male | ~5 | Various lengths |
| USB Cable | Type A to B | 1 | For uploading code |
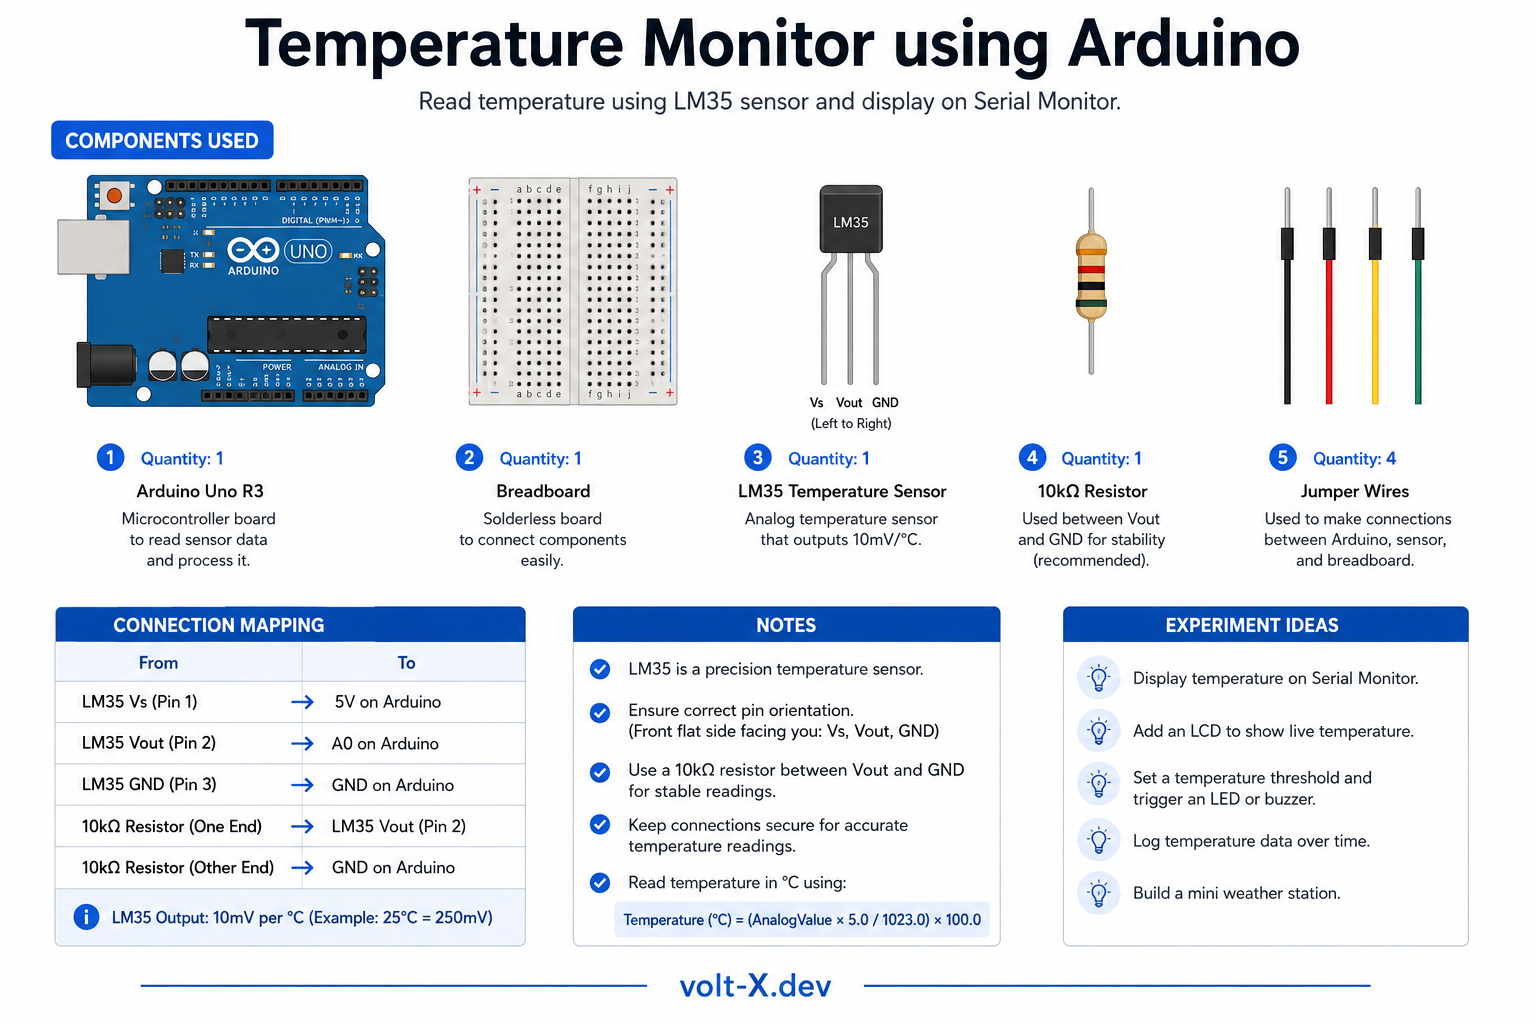
Component Pin Mapping
Step-by-Step Tutorial
Install DHT Library
DHT sensor library by Adafruit and install it along with Adafruit Unified Sensor.Wire the DHT11
2.Add Pull-up Resistor
10kOhm resistor between the DATA pin and VCC (5V). This ensures reliable signal levels.Upload the Code
Open Serial Monitor
9600. Temperature and humidity readings will appear every 2 seconds.Arduino Code
// Room Temperature Monitor — Volt X
#include <DHT.h>

#define DHTPIN 2
#define DHTTYPE DHT11

DHT dht(DHTPIN, DHTTYPE);

void setup() {
  Serial.begin(9600);
  dht.begin();
  Serial.println("Volt X — Temperature Monitor");
}

void loop() {
  delay(2000);
  float humidity = dht.readHumidity();
  float tempC = dht.readTemperature();

  if (isnan(humidity) || isnan(tempC)) {
    Serial.println("Sensor read error!");
    return;
  }

Serial.print("Temperature: ");Reviews & Ratings
Sign in to leave a review
Loading reviews...